Showing posts with label decorations. Show all posts

Friday, March 16, 2012

How Do You Do That? DIY Hybrid Easter Wreath

The past few weeks I've been forcing Spring here by Spring Crafting...I've created wreaths, garlands, shadow boxes, updated my Spring Jars, all using Rhonna Designs. 
Print, cut, create. Love the hybrid aspect of these kits!


So, I thought today, I'd share HOW to create the Easter Wreath I did...I'm loving this!


First off....the Junquey wreath base was created back in December when I took Margie's Spark Your Christmas online class. Then, I just Added some Rhonna Designs Spring Circus & more color to create this wreath for Easter.

***Alert: Did you see Margie's doing another online class? Spark Your Spring..I'm sure you will LOVE it! Go on over & sign up! She's always got fab ideas!**

So, I just took a wreath I had already created & filled in some SPRING! ....made it *bloom* if you will.
You can do this with any wreath you have around the house...just add in filler with 
Rhonna Designs Spring Circus papers (printed on good matte photo paper & cut into flowers & butterflies) & these NEW Rhonna Designs Easter Celebrations Printable: 'He Is Risen' cut out with 1 1/2" scalloped punch


This little bird just makes me so happy. I added her on top of the vintage paper flowers I had in there (See HERE for the Valentine versions & FREE Template) 

To create the little top hat, I just punched out some of the Spring Circus paper with a 1" circle punch. Then, added a strip of the paper & glued on top...added flowers & Voila! Cutest little Top Hat for my Easter Birdie!
Simply punch out tons of butterflies & flowers out of the Spring Circus papers...I used the Circus Harlequin...I"m in LOVE with that paper....
  Pin It
I added gold glitter around the edges of all of the printables: flowers, butterflies & this NEW 'Easter Celebrations" kit that I'm in LOVE with...I'm using it on everything! 
   Pin It
   Pin It
   Pin It

So, there ya have it...a happy Springy wreath ready to hail in Easter! All with the help of Rhonna Designs! Happy Weekend!


Monday, September 12, 2011

Spooky. Junque. a closer look.


Wow!!!! Thanks so much for the a*mazing response to the 
So fun to hear you love it as much as I do! Thank you!!!!

So, I've had lots of questions about the kits..so I wanted to take a closer look & tell you a little about them.

This collection was designed with all creatives in mind. 
hybrid. 
digital. 
traditional.
blogging. 
photographers. 
crafters. 
scrapbookers. 
digital scrapbookers. 
home decor creatives.
yea...
...you are ALL covered!


are colored PNG files. They are all sizes ranging from 12 inches across to 4 inch corner pieces. 
Basically...anyone can use these. 

Since they are in PNG files, you can use them in ANY programs!!! FAb, huh? 
Digitally, you can open up these transparent files & resize them, or just drop them over photos, on cards, use them on your blogs....you get it. LOTS of fun!
You can also use the PNG files as Clip Art in Word programs. Simply 'insert' just as you would any clip art image. Use any way you'd use Clip Art....& you could even print them out once you did that!


are my fave. Of course...you KNOW I love Brushes! If you are not familiar with brushes...think of them as digital stamps.  This Friday, I'll do a little ditty on brushes for my "How Do You Do That?" feature on my blog.  
So, fear not!

The preview above shows the designs, but also shows you that you can 'stamp' them in different colors. The thing about brushes is: they are ABR format, which means you can ONLY use them as a brush/stamp in Photoshop or Photoshop Elements programs.  
But...the kit also comes with the BLACK PNG files...which again...means you can use them as Clip Art.  
Fab!!!!
this is where I LOVE these background kits. They are offered in JPG files which means they can print out just like a photo.  

But, they are offered in 8x10 formats AND 12x12 formats= printing at home. No matter what kind of printer you have! 

The designs in this kit are not all Halloween. IN fact, the above Collage sheet is the only one that is 'halloween-ish'.  

The others are chevron patterns....they can be used ANY time of the year...& you can always recolor them, too! So versatile!

LOVE this...printing out background papers at anytime of the day...LOL...when you run out of one...print it again. and again. and again! Or, of course, you can use them digitally for photos, blogs, etc.  
Oy! the fun you can have!

Labels. Oh Labels. 
comes in the colored PNG files..so you can use them digitally! 
OR, 
they are also resized a bit smaller onto a Printable. 
The PDF can be opened & printed out in ANY program.  How fun would these be printed out on Sticker Paper? I'm going to label everything. *hee hee* Fun decor, gift, party ideas!
Aaaand....love these Spooky Junque Frames.  Perfect addition for our Halloween pictures! Can't wait! This kit is offered in PNG files...so, you can drop them onto your photos...use digitally on blogs, facebook, etc. OR print them out for your scrapbooks, hybrid crafting, etc.  Remember: you can resize them, too!
These Spooky Junque Candy Cone Printables make me drool.  Yes. Because I love candy..but, also because they are soooo fun!  The kit comes with 4 Printables & has the template for the cones, strips of words, & patterns (to make little lollies or shredded for hat toppers, & then an icon that can be punched out & used as a cupcake topper, banner, embellishment on the cones...whatever you want! Sweeeet!

And... of COURSE a little Spooky Junque banner love.  
Flags, banners, buntings...whatever you want to call it!  
These are so fun. 
This Printable also has 4 sheets to the kit: 3 that have the various large banner shapes, along with smaller flags, icons & words...& then a 4th sheet that has smaller banners to use as decor, treat toppers, scrapbook pages, cards, etc. LOVE it!

Be watching...my cReative Team will knock your sox off with how they've been using them...truly uplifting & inspiRing us this Halloween Season. 

Wednesday, February 16, 2011

spring is in the air....


it's been unseasonably warm around here...yesterday it got up to 60!!! The sun was out & I wasn't wearing a coat! 
Which got me to thinking about a couple of things.
1. Spring is coming.
2. No more hiding under my winter sweaters & coats...that means Spring fashion is in the air, too!*do I hear a "it's time to get serious about your workouts?"
3. Spring decorating..oh how I love to freshen things up around my house! 

So, I wanted to share a few things....

Spring Fashion pins on my personal stylist pinboard at Pinterest. They make me happy.
&
a new daily deal site called Joss & Main that has *screamin* cool deals EVERY DAY...on all sorts of things... these Spring pillows caught my eye.
 And, look what's on sale today!  I LOVE these aprons by Anna Marie Horner...they make me so Springy Happy!
mmmm....now...I need to work out so I can fit into those Spring Fashion pieces! LOL...who's in? Wanna start a 6 week Spring Shape Up program? *grin*

Tuesday, January 25, 2011

...will you be my valentine?


& I'm getting giddy for Valentine's day..I LOVE it!...love decorating.
it's all about flowers ...

& cupcakes from Sweet Tooth Fairy...& how about some of their famous cakebites? um...yes, please.

too bad they aren't gluten free! *wink*

...love making Valentines.

...love the candy! oy!
can you say *pink grapefruit sours*? mmm!
so? are you getting ready for Valentine's Day?

We'll be having a very special Valentine's Day LIVE web show on Feb. 2! 

You don't want to miss it!
p.s. I've been sprinkling little sneak peeks of our NEW House of 3 Valentines....can you see them?...they are quite remarkable.
*wink*

p.p.s  and the winner of the SHE ART WORKSHOP is:
Congrats, LUCY! email me to get info!
thx.

Monday, June 28, 2010

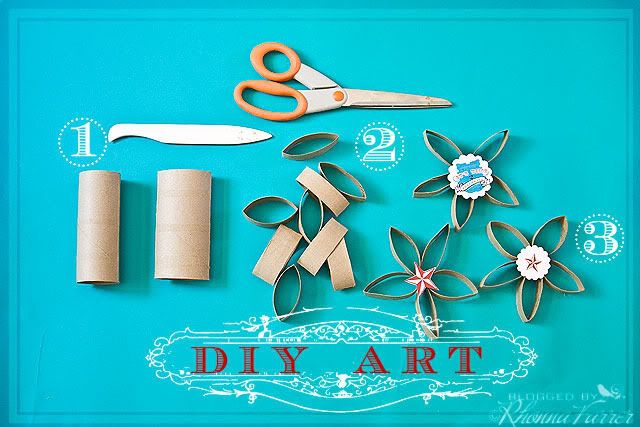
DIY festive art tutorial:: recycled. repurposed.

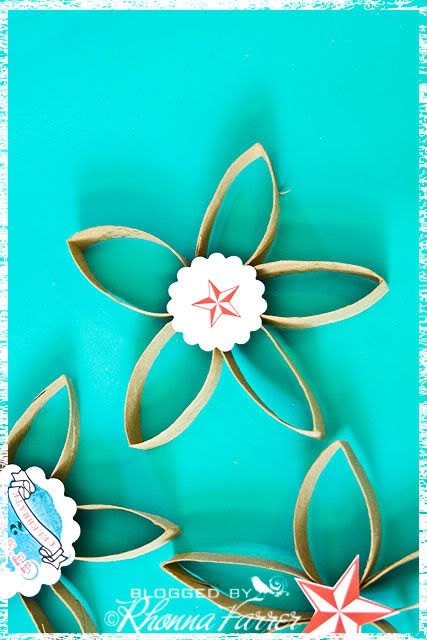
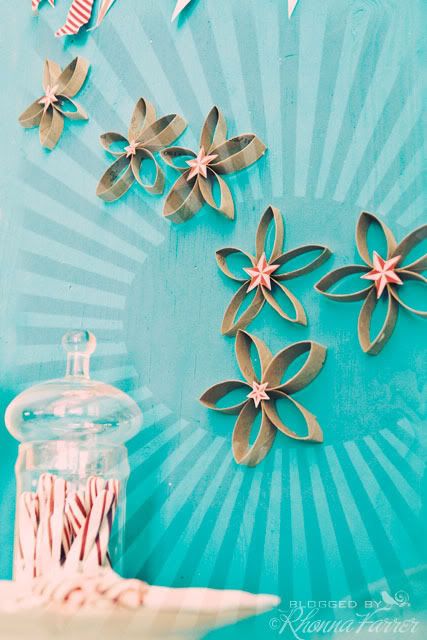
So...many of you asked HOW I did these little star/flowers for my festive 4th of July vingette.
 ask & you shall recieve....


Supplies:
toilet paper/paper towel/wrapping paper rolls
scissors
bone folder
hot glue/glue gun
printed hybrid art from House of 3 (Four printable sticker kit, July No. 4 digital kit, July No. 4 Printable kit.)


Steps:
1. Take the paper rolls & cut them into 5 or 6 sections, depending on how thin you want your art. Flatten them out as shown in #2.
2. Hot glue them together at the center. Hold together 'til cool.
3. Cut out printed House of 3 art & hot glue in center.


Hang them around for fun...parties, decorations, whatever....
now...show me YOUR 4th of July decorations!

Tuesday, December 15, 2009

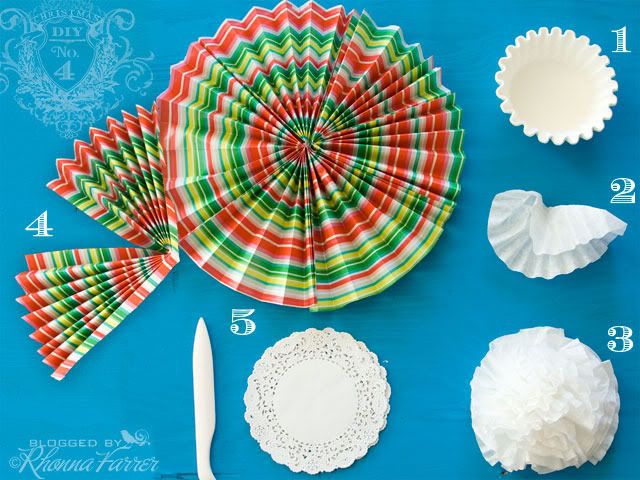
DIY Christmas No. 4 :: Christmas Wreath & Lollies


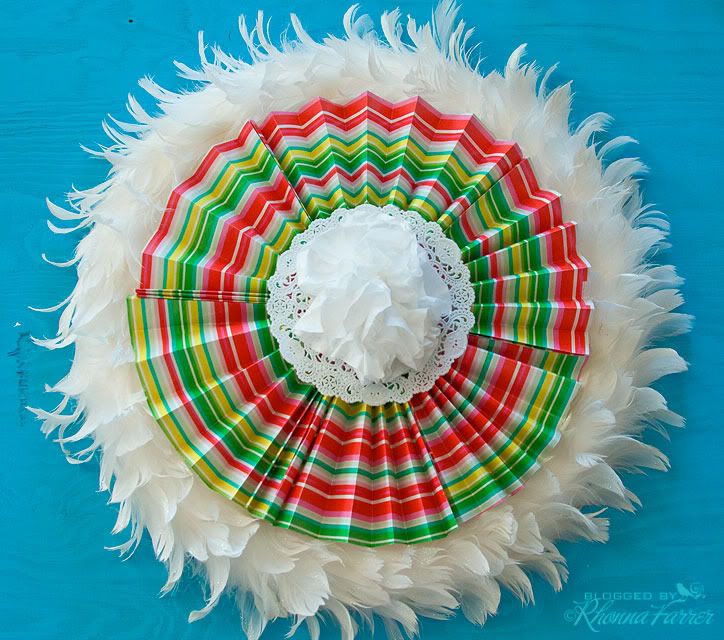
Ever since Spark, I haven't been able to get enough of the paper rosettes we made for the decorations....and, as we'd hoped: Spark inspired me beyond the event!

It spilled into my Christmas creating & decorating, too!
big, medium, small & even mini!
Super easy to make....here we go>

Supplies:
paper (wrapping paper, newspaper, book pages, patterned paper...anything!)
doilies
coffee filters
bone folder
hot glue

Steps:
Coffee Filter Flowers:
1. You'll need about 8-10 coffee filters
2. Fold each one as shown in #2.
3. Hot glue them onto the doilies until you get a good lookin' flower!

Paper Rosette:
1. Cut 3 strips of desired paper in any size you want. (here, I've got my fave striped wrapping paper.)
2. Fold 3 sheets accordion style lengthwise at about 3/4" intervals.
3. Fold in half & hot glue together like above.
4. Repeat with all 3 accordions & connect all together forming your circle as above.
5. Add your center coffee filter flower.

Wreath:
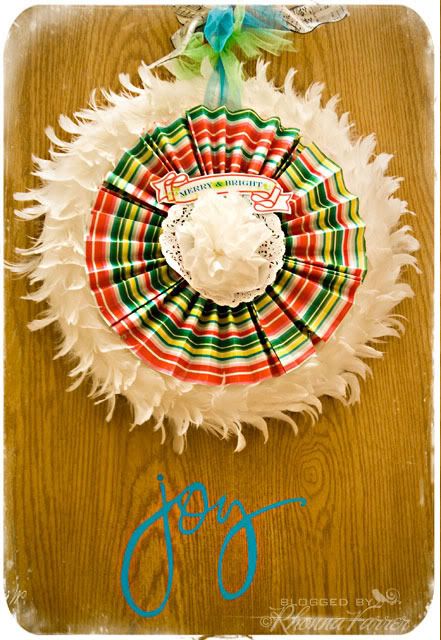
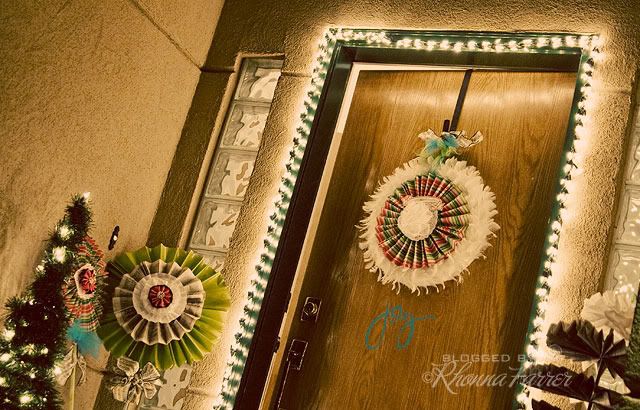
1. I took a foam form wreath with feathers, & pinned the Rosette onto the front like this.


2. Add ribbon on top to hang.
3. Print out a House of 3 banner & hot glue onto front!Other ideas:
LOLLIES:
You can do the same thing & add the 'lollies' to wooden dowels.
Add ribbon like a big lollie pop!
**and check out the Inspiration House blog to see how I used the Silhouette to cut out the 'joy' in vinyl! And another giveaway today!*wink*

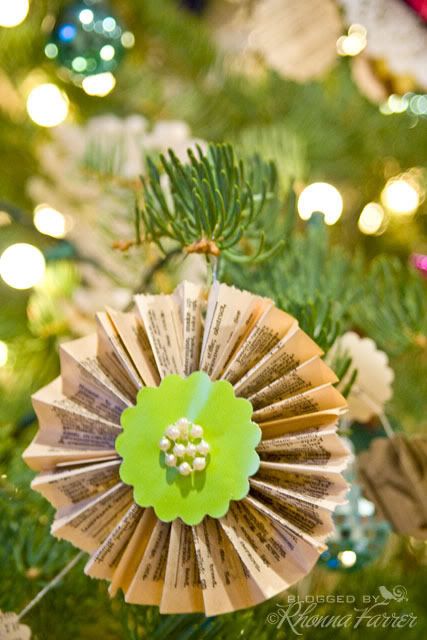
For mini rosettes, you can create little ornaments. Our tree is filled with these little guys! I love them!And yet another idea:
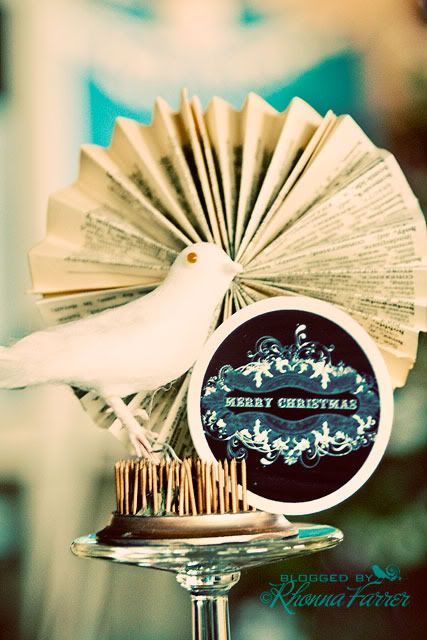
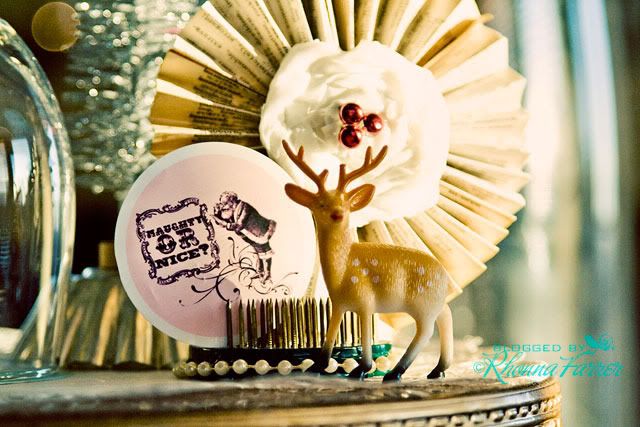
Add to your decor! Here, I created a folded fabric flower, added it to a small rosette & stuck it in a vintage flower frog!

& check out the House of 3 Printable 2" Christmas tags...printed these little puppies out & am using them all over. LOVE!

Swag them. Hang them. use them as gift tags....the sky's the limit!
enjoy your holiday season creating your own little wreaths & lollies!
R

Thursday, December 10, 2009

Enjoy the Season....


this is my goal. to enjoy the season. sometimes I wish I could just bottle it all up.

the giddy laughter.
the excitement.
the Christmas Spirit.
the surprises!

Wouldn't that be great if we could
bottle it up & during the rest of the year when we need a little lift, we could just open up the *magic*?
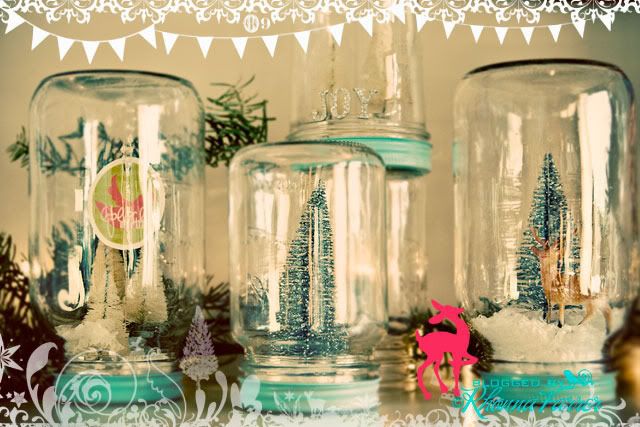
Well....this whole thought process I've had has spilled into my Christmas decor & even my gifts. *think: cookies/brownies/goodies/little creative gifts all bottled up.*

To share.
To preserve.
To open & enjoy!

I love the process of gift giving. It brings me such JOY!

....thinking of others. looking for ways to serve others. creating a holiday feeling around our home in decorations & gifts. I just love it & want to cherish every single moment.

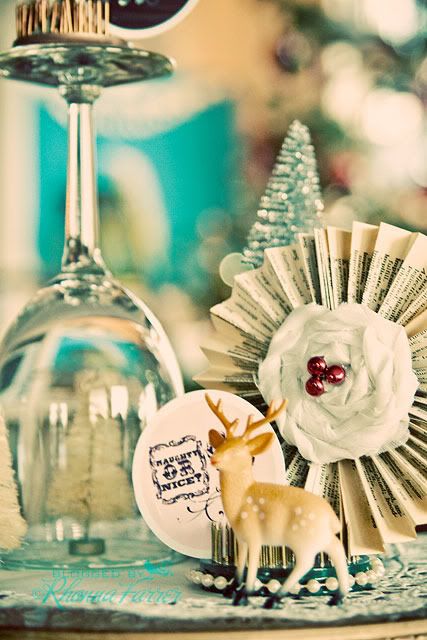
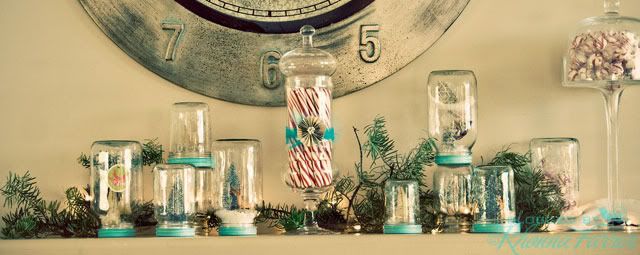
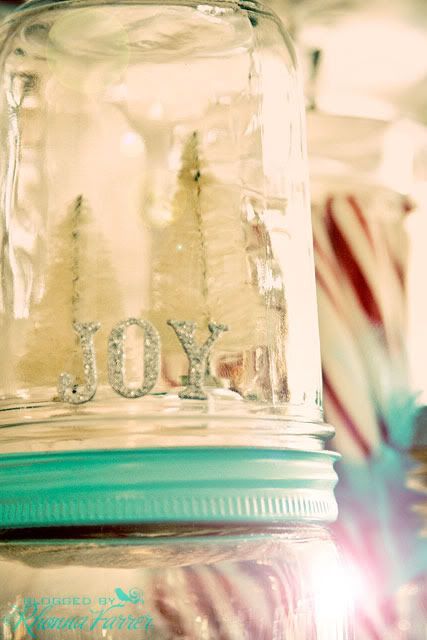
These bottles & jars are all over & filled with little delights: birds, trees, snow, House of 3 Christmas art & candy!...havin' so much fun!
How about YOU? What have you been doing to enjoy the season?
R
**eta: lots of emails asking HOW I did these...I'll do a DIY Christmas No. 2 on Monday! *wink*