Wednesday, December 30, 2009

the good::bad:: & the ugly.


the good:
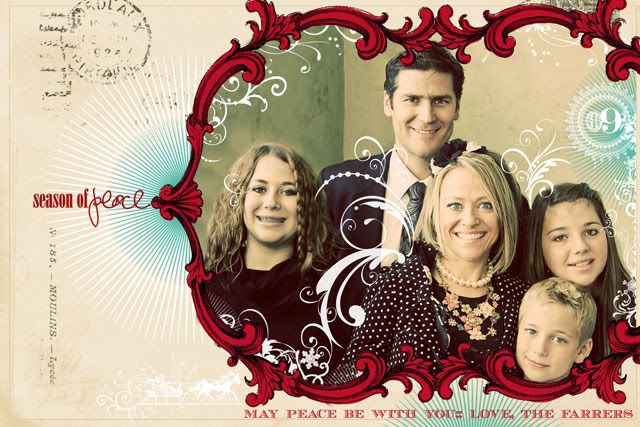
1. House of 3 50 % sale on all Christmas products. ends 01.01.10 at midnight. LOVVVVVVVE this huge bundle! great deal!

2. Silhouette sale! Check it out! You can get all designs in their Online Store for .99 until tomorrow. And 25%off a subscription which is the best deal *til tomorrow* We have
new House of 3 Valentine designs in there.....love them!

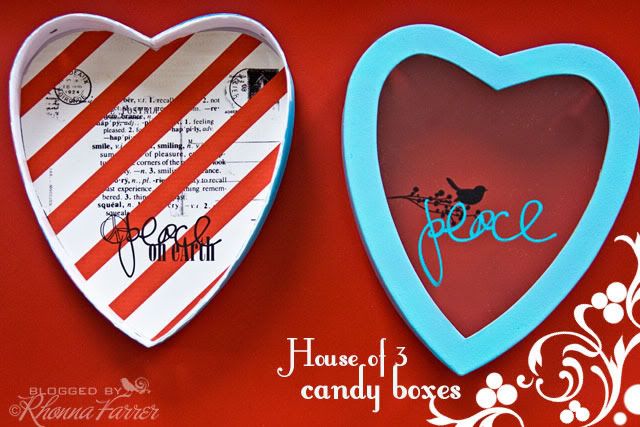
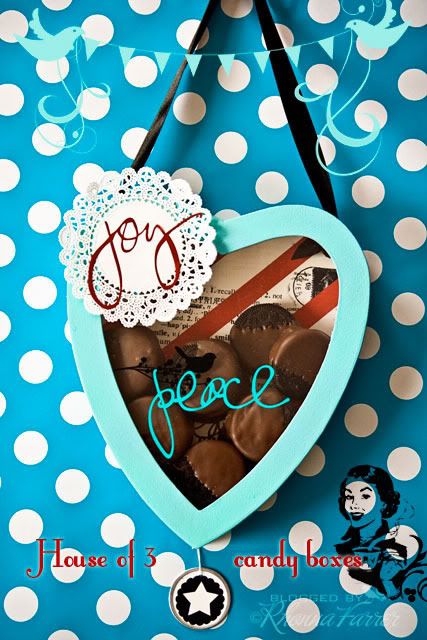
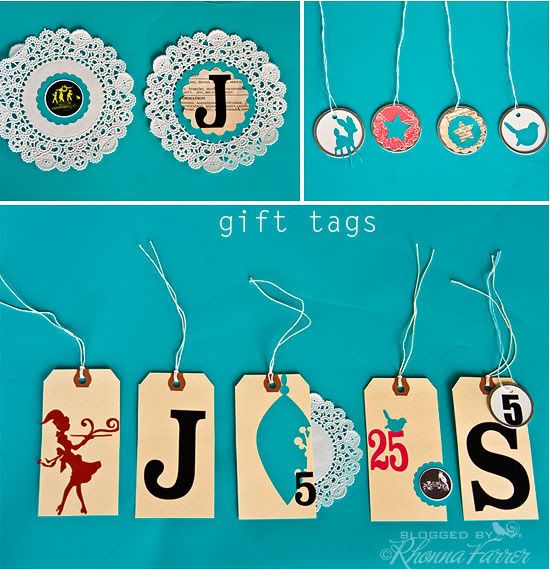
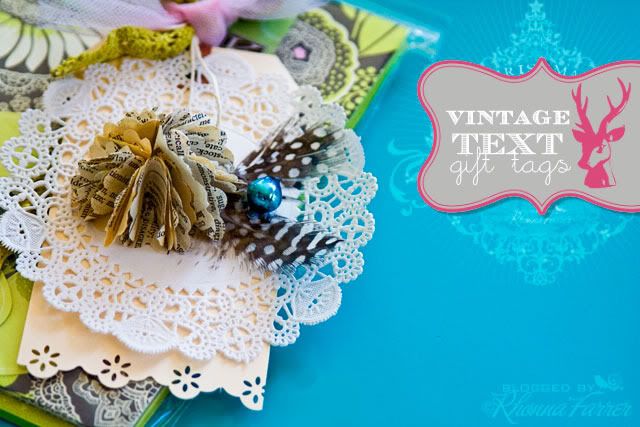
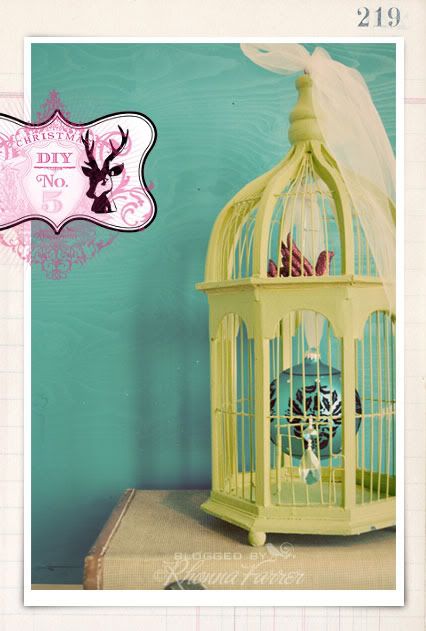
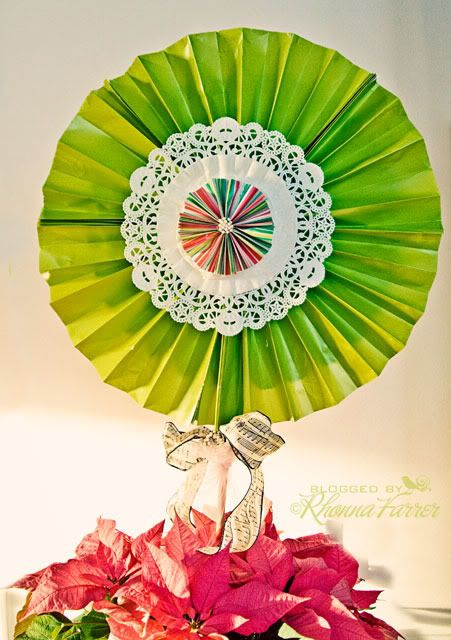
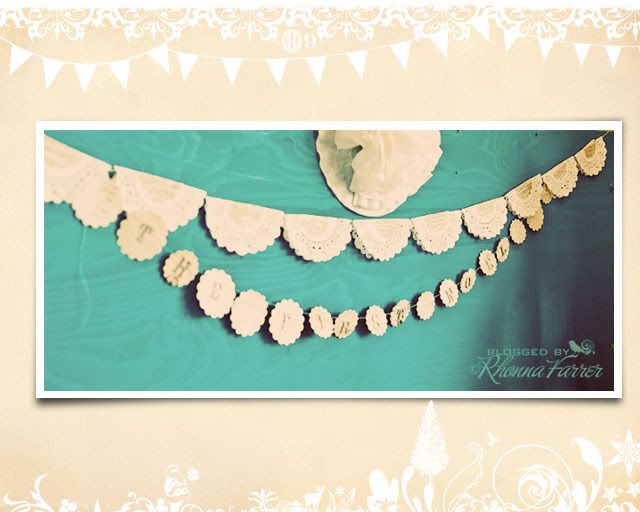
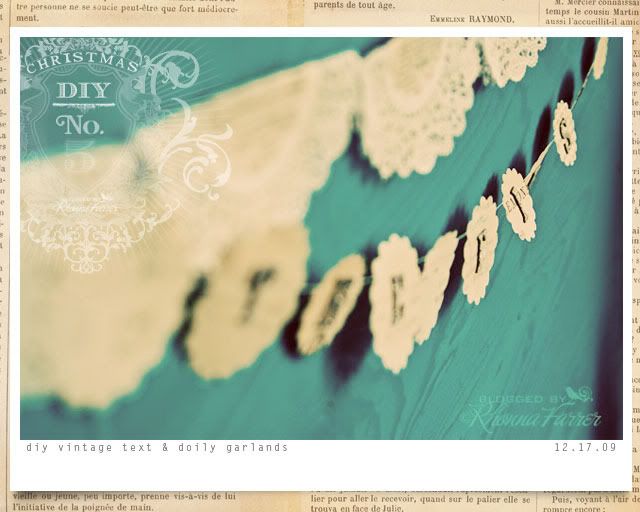
2. NEW Valentine stuff at House of 3! *soon* I've been creating...crankin' it out & I'm loving the kits. LOVING! Here's a little mood board vibe: think lace, doilies, vintage text, calligraphy, garlands....yea. a Valentine sweet treat!
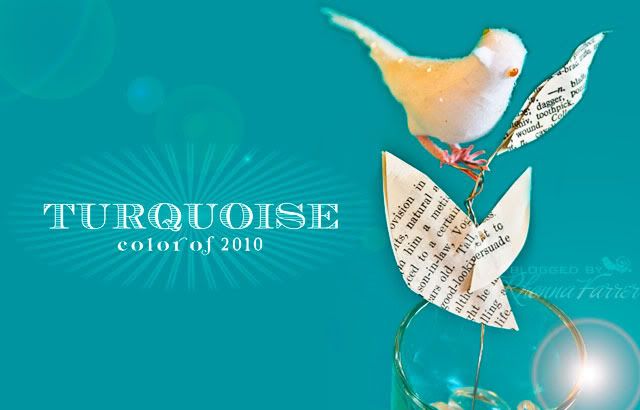
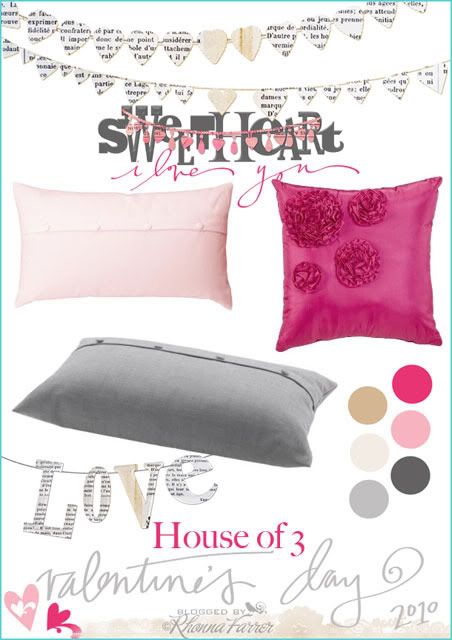
The great thing is: the color palette is very versatile & with the brushes, you can add various bits of your own
Valentine colors like turquoise. *wink*...that's what I've been doing.
But, for those that love
red & pink.
or red & black.or red & white.
or pink & white, don't worry.
This is why hybrid scrapbooking is so fun...YOU call the shots. YOU customize!
you get, it.

the bad:
I won't be blogging very much for the next 3 weeks. Little, short blurbs, but nothing much.
because...
the ugly:

sadly, I'm in an arm sling for the next 3 weeks. :( yea. not fun.

but...trying to focus on the
GOOD.
like:
1. All the great stuff happening over at
House of 3 in 2010! So thrillled! Lots of fun...& 3 weeks is 21 days. We all know how fast that goes!

2. Staying happy & creative with my daily creative exercises.

3. Doing all I can with 1 hand/arm! fun fun!
hugs & Happy New Year!
2010 is going to be amazing..I can feel it!
R

Monday, December 28, 2009

simply *magical*!

I hope everyone had a *magical* Christmas. We did!

And....wanted to share a couple of things making me giddy today!
No. 1}

|SPARK| from Jmills ENT. Jeremy Miller on Vimeo.

Jeremy Mills is the master behind this incredibly artistic cinematography. I love the colors. So Spark! I love the music. Butterfly Nets by Bishop Allen. I love the dancing sunlight. *& how he put it to music as it shines down the staircase. I love the little floating magical specks at the beginning...in the sunglow. I love seeing my Spark sisters throughout...it give me the magical chills all over again....makes me want to create.

right.

now.


No. 2}
House of 3 50% off all Christmas goodies until midnight of 01.01.10. ** and a Special Edition Bundle kit of Christmas goodies, too! Here!**

That number has a ring to it, doesn't it! I love it! Love the New Year...I love a fresh slate. I love that we are in double digits...wow!
twenty ten. so excited!

No. 3}
fab stuff up our sleeve over at House of 3....had a great meeting this morning...be watching...fun stuff! I'm seriously giddy over the Valentine stuff that's been sparked in my head...can't create fast enough! *wink*

Thursday, December 24, 2009

Merry Christmas!


from our family to yours...remember the reason for the season!
xox
&
love} Jeff, Rhonna, Jaya, Tali & Sol!

Happy Birthday, MOM!

Mom, I feel like I say the same things over & over again each year....I mean, what can I say when I have the best mom in the world?
So....here's a lil somethin' for you on your Birthday!


We love you & miss you & wish you could be here with us, but know you are doing the most important thing right now & as you've taught us:
We are happy to sacrifice! love you so much! *no empty chairs*
xox
Rh... & the fam!

Wednesday, December 23, 2009

DIY Christmas No. 8 :: Gift Packaging with House of 3


Yes, it's fabulous to get a professionally wrapped gift at Nordies...I get that.
But..., imo, it's equally fabulous to do it yourself!
And House of 3's heart boxes are so fab for packaging treats at this time of year!

Supplies:
House of 3 Heart box
Silhouette machine
vinyl
House of 3 Silhouette art
metal rimmed tag
manila tag
baker's twine
goodies

Steps:
1. Adhere the clear heart to the front of the box.
2. Cut out numbers or art in vinyl & put on the inside of the box. (shown above. 25)
3. Fill box with chocolate covered oreos! mm!
4. Add vinyl embellishments to the clear acetate heart, tags & front of box.
5. Tie ribbons on, metal tag & manila tag.
Voila! You have a gorgeous neighbor gift! We delivered ours today & one of my sweet neighbors said, 'oh! You should sell these online!' *wink*

Here's another one I did!

Steps:
1. Print out House of 3 background & brushes
2. Cut out the heart using the FREE template
3. Adhere it to the back of the heart box
4. Spray paint the outside of the box aqua
5. Add vinyl cut by your Silhouette, doilies, ribbon, tag
6. And FILL with goodies!


My kids call today: Christmas Adam. Tomorrow's Christmas Eve & so, today is our day to get all ready...delivering the neighbor gifts, last minute wrapping & listening to Christmas music!

Here's a cute little cash envie I did up for a dear friend of mine!...cash is grand...but, anytime you put doilies & House of 3 art with it...it's even cuter! :)


And, all you Spark girls may recognize these pastry boxes...I got about 500 of these little puppies & I use them for everything.
I love them.
Even at Christmas.

Yes, the turquoise, black & pink are a little non-traditional, but i couldn't help myself. I made sure I gave them to neighbors that I thought might appreciate the Christmas funky-ness! *wink* love you guys!


I love to see your do-it-yourself gift packaging!
Check out what Amy did here!
And Kerri's darling tags here.
Erin's fabulous packaging here.
Nichol's amazing boxes & cards...wow!

I'm embarrassed to say...I've seen more...& can't remember WHERE! arghh! So, please send me your links, K?
....can't wait to see it! I've sooo loved the ones you've shared with me using the House of 3 stuff!
keep it coming!
Merry Christmas!
R

Tuesday, December 22, 2009

DIY Christmas No. 7 :: Yudu scReen pRinting

I love the do-it-yourself possibilities with the Yudu screen printer. Seriously, this machine rocks! I'm addicted! So many fun ideas swirling around in my head.

So, in our family, we draw names & then create handmade gifts with love. Yudu will be a part of each person's gift this year! *wink*
Supplies:
DIY gift idea: skirt, shirt, bag, anything!
Yudu supplies: machine, screen, emulsion film
packing tape
design on a transparency
ink ( i chose the metallic silver ink...just the right amount of *sparkle*)


Steps:
(you can jump on Yudu & see the video tutorials to get you started!)
Here are cell phone tweets, but you get the picture of the process.

1. Printed out my swirls as the design on a transparency. Burned the image in the screen.

2.Printed right on the black skirt with the metallic silver ink....mmm..it's so pretty & festive!

3.Continue steps until you have the desired design. Let dry....

4.It's drying on that dress form as I type. BUT...I have an idea to add the Spark inspired folded fabric flowers to this skirt...Sande & I were giddy at Kelly's class talking about combining the Yudu and the fabric flowers....I'll take a pic when done!
*wink*
see u soon!

Monday, December 21, 2009

holiday inspiRations....


With only 4 days to Christmas, I'm enjoying the time to get ready.


(image credit: Kollaj.)

No. 1:
holiday inspiration.....check.
I *heart* anything Traci Bautista does & she's been doing a whole bunch of Holiday Inspirations! Check out Day 18! *wink* Thanks, Traci!

No. 2:
Color
. check.
I'm loving the colors I've been seeing lately. I've been dreaming of a bright Christmas & that's just what we've got here at our house! And...loving, loving LOVING that Pantone's named Turquoise as the Color of 2010! mmm....i seriously love this color!

No. 3:
Gift wrapping. check.
I'm loving the
Silhouette & House of 3 art to make my own gift tags...
manila tags+doilies+metal rimmed tags. mmm!
(& did you see Heidi's card? so fab! that Silhouette is to die for!)
I haven't taken pix of our wrapping yet...but, oh my. I'm loving the colors!

No.4:
DIY Gifts. check.
I grabbed a bunch of these big jars at Ikea & have been cutting out BIG vinyl numbers... *according to how many people in their families...just for fun.* I'm putting them on their jars & plan on filling them with goodies. orange slices. popcorn. cookies. all sorts of yummies.
Ok...we have a little Spark surprise for you....get ready...set....

Friday, December 18, 2009

DIY Christmas No. 6 :: Vintage Text Flower Gift Tags

so.....after yesterday's post of Vintage Text Garlands....how many of you have punched out so many you don't know what to do with them? hee hee!
Yea..I just watched the movies & had punched out sooo many.
So, I made gift tags out of them.


Supplies:
manila tag
Fiskars decorative punches
small doilies
feathers
vintage beads, pearls, anything for a 'berry'
hot glue gunSteps:
1. Punch the bottom of the manila tag with decorative edge.
2. Hot glue the doily right onto the tag.
3. Glue 2 feathers on the side of where you want the flower.
4. Take about 10 vintage scallop punches & fold in quarters. Glue them together to make the flower.
5. Glue the flower on the doily, near the feathers.
6. Top off with a vintage glass bead, pearl...whatever adds flair!
7. Tie onto your gifts for some holiday WOW!
enjoy!
R

p.s. be watching the Inspiration House blog for the announcement of the winner of the Whole Enchilada gift! So exciting! Thanks, everyone for a wonderful Silhouette week!

Wednesday, December 16, 2009

DIY Christmas No. 5 :: Vintage Text & Doily Garlands

I love love love the juxtaposition of modern & vintage. We've done that with our Christmas decorations, gift wrapping & Christmas cards this year....we call it:
mintage
or
vodern *to get a giggle*

think:
vintage text with bright, modern colors....
a bright green bird cage.
bright, glittery birds, houses & ornaments....
juxtaposed with vintage text papers, garlands, rosette lollies...you get the pick*cha.
This year I"m loving the pink poinsettias...this huge lolly is stuck in a big dowel & standing right in the pot of flowers. It makes me so happy every time I walk by it!

Super easy. Super fast. Super fun garlands, are strung all over,too....making me very happy.
Do you want to make some?
Just grab some of these supplies & you can make these while you want It's a Wonderful Life, or White Christmas. *wink*

Supplies:
small paper doilies
vintage book pages
string/baker's twine
scalloped paper punch
thread
sewing machine
stapler
glitter letters
Steps:
Vintage Text & Doily Garland>
1. Measure out your baker's twine or string for as long as you need.
2. Fold doilies in half.
3. Punch out vintage text scallops & fold in half as well.
4. Layer both bits of paper & staple right onto the string.
5. Continue until the length of your garland is complete!

Vintage Text Scalloped Garland
1. Punch out a bunch of vintage text scallops in different sizes.
2. Sew them together on the sewing machine.
3. Optional: Add glitter letter stickers for a special message!

String these babies up everywhere...
the tree.
the stairways.
outside.
inside.
your kitchen.
your packages.
your neighbor's kitchen.
.....just FUN stuff for the holidays!
enjoy!
R

Tuesday, December 15, 2009

DIY Christmas No. 4 :: Christmas Wreath & Lollies


Ever since Spark, I haven't been able to get enough of the paper rosettes we made for the decorations....and, as we'd hoped: Spark inspired me beyond the event!

It spilled into my Christmas creating & decorating, too!
big, medium, small & even mini!
Super easy to make....here we go>

Supplies:
paper (wrapping paper, newspaper, book pages, patterned paper...anything!)
doilies
coffee filters
bone folder
hot glue

Steps:
Coffee Filter Flowers:
1. You'll need about 8-10 coffee filters
2. Fold each one as shown in #2.
3. Hot glue them onto the doilies until you get a good lookin' flower!

Paper Rosette:
1. Cut 3 strips of desired paper in any size you want. (here, I've got my fave striped wrapping paper.)
2. Fold 3 sheets accordion style lengthwise at about 3/4" intervals.
3. Fold in half & hot glue together like above.
4. Repeat with all 3 accordions & connect all together forming your circle as above.
5. Add your center coffee filter flower.

Wreath:
1. I took a foam form wreath with feathers, & pinned the Rosette onto the front like this.


2. Add ribbon on top to hang.
3. Print out a House of 3 banner & hot glue onto front!Other ideas:
LOLLIES:
You can do the same thing & add the 'lollies' to wooden dowels.
Add ribbon like a big lollie pop!
**and check out the Inspiration House blog to see how I used the Silhouette to cut out the 'joy' in vinyl! And another giveaway today!*wink*

For mini rosettes, you can create little ornaments. Our tree is filled with these little guys! I love them!And yet another idea:
Add to your decor! Here, I created a folded fabric flower, added it to a small rosette & stuck it in a vintage flower frog!

& check out the House of 3 Printable 2" Christmas tags...printed these little puppies out & am using them all over. LOVE!

Swag them. Hang them. use them as gift tags....the sky's the limit!
enjoy your holiday season creating your own little wreaths & lollies!
R

Monday, December 14, 2009

DIY Christmas No. 3 :: Glitter Houses


Fabulous Margie had us over for an amazing creative evening! She is just so fun & had these nesting paper houses for us, a whole bunch o' glitter goodness & lots of laughter! What could be better?
These are the 2 smallest houses....the larger one was seen here. Each is covered with glitter, House of 3 printed goodies, Silhouette diecuts, vintage goodies & lots of jewels!


....add some tinsel pipe cleaners, feathers, doilies & some Silhouette/House of 3 cut cardstock. (peace & the cute Sassy Christmas Girl are both cut out of the fab paper from January's kit from the Girl's Loft!)

And...other fab stuff today:

No. 1:: it's
Day 2 in the great Silhouette Giveaway! Run on over to the Inspiration House blog to see what we are giving away today and some fun inspiration on HOW to use your Silhouette & Hof3 art!

No. 2:: Go on over to Amy Coon's
Paperlife blog
to hear a podcast interview & win $50 worth of fab goodies! It was a pleasure doing this interview & Amy's just plain RAD! Loved it & thanks again for the House of 3 Feature, Amy! mmmm*wah!

DIY Christmas No. 2 :: Snow Scene Jar Tutorial

I seriously LOVE snow scenes! And they are so easy & fun to make...then, create a little snowscape in your house!


How-to Tutorial>>

Supplies:
Mason Jars & lids (varying sizes)
spray paint (I chose a light aqua)
fake snow & glitter
little treasures to fill the jars (here, I've got bottle brush trees , silver trees & reindeer)
House of 3 Christmas messages printed & cut out
Steps:
1. Gather supplies. Spray paint the lids & tops of your bottles.

2. Fill jar with just a bit of snow & glitter. (on some bottles I even sprayed adhesive inside & then shook glitter inside for a little shimmer. *photos didn't turn out*)
My sweet friend, Megan, sent me this link on adding water/glycerin! cool!**ETA: Thank, Nicole!

3. Right ON the jar lid, hot glue your treasures. Kate asked HOW I got the reindeer and trees to stand up & put that much snow in there??
welll.....the trick is these little clear pebbles.
I just hot glued as many as I needed to create the height I needed....& as you can see...This particular reindeer still has the cupcake pick on it, so I just glued it on the lid. (I simply cut off the pick on the reindeer I wanted to stand up at ground level as shown here by these cute houses.)


4. After you've got your little treasures glued onto the lid, put the lid together & turn upside down....& screw the lid on. Turn back upside down, shake the snow & glitter around & you've got your snowscape!
Ideas:
You can add anything inside! Here, I've printed out House of 3 tags &
hung it from the top of the jar so it is hanging above the little white bottle brush trees!
This one is filled with a white bird & silver tinsel trees...along with a vintage text flower & leaves i glued on wire so it would stand up behind the bird...it's
perched!
Line up your snow scene jars to create a little winter wonderland. I doubled some of the jars to add varying height.

and...
you don't have to do them in jars...what about inside a glass? or vase? like these? mmmm! so many possibilities!

Tie with tulle, add the House of 3 message in the back so you can see & then just fill the glass or vase with the snow, glitter & any goodies!

Isn't that fun & easy? Love it!

Ok...so, this whole week...jump on over to the Inspiration House blog to see a whole slew of great Silhouette ideas & inspiration.....AND
daily giveaways! Today we are giving away a HUGE prize package! Go on over & let us know what YOU want for Chrismtas!
R